Your Event Space Needs to Work for Everyone—But How Do You Know It Will?
If you've ever set up for a community event, you know the drill. You’re trying to balance branding, accessibility, and an inviting atmosphere—all while sticking to a budget. But let’s be real: how often does the final setup look like what you envisioned? If you’re relying on sketches, mood boards, or just imagination, it’s easy to miss the mark. That’s where 3D rendering comes in.
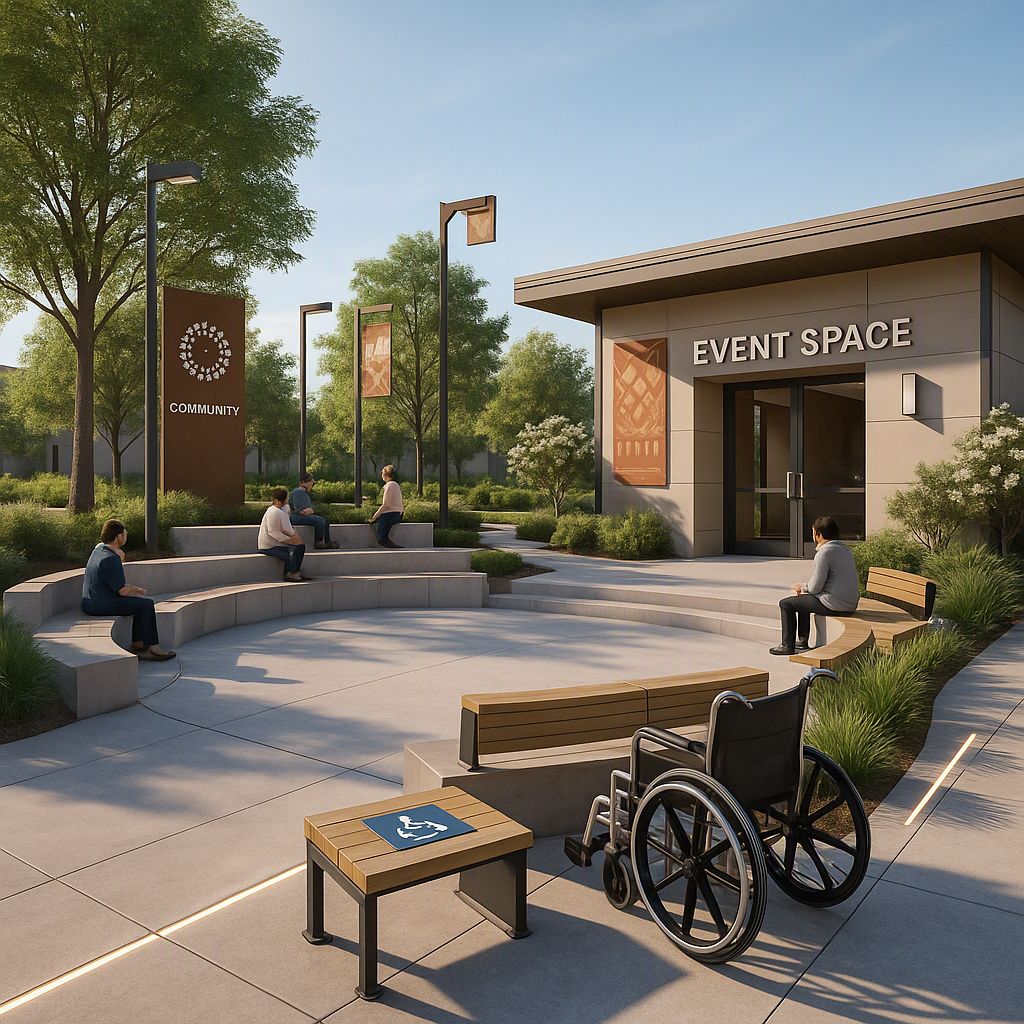
3D interior rendering lets you see the future. It’s not just about pretty visuals; it’s about solving practical problems before they become expensive fixes. Will the wheelchair-accessible paths actually work once the tables are in place? Does the lighting complement your cultural theme, or will it wash out your branding elements? These are the questions rendering answers, and it’s why more event teams are using it to craft inclusive, branded spaces.
What Changed My Mind About 3D Rendering
I used to think 3D rendering was overkill for small events. “We’re just hosting a fundraiser in the local community center,” I’d say. “Why would we need a high-tech design tool?” Then, in May 2026, we had an experience that changed everything.
We were planning a cultural festival for 300 attendees. It was a mix of free and ticketed events, with food stalls, performances, and an interactive art zone. The space was tight, and we had to prioritize accessibility, branded signage, and clear paths for foot traffic. We thought our paper layout was solid—until the day of setup.
It was chaos. Tables blocked wheelchair ramps. The lighting we rented clashed with our event’s theme. And worst of all, attendees struggled to locate key areas like the welcome desk and first-aid station. Fixing these issues on-site cost us time, money, and goodwill.
That’s when I started exploring 3D rendering. The first time I saw a mockup of an event space, I realized how much easier planning could be. Seeing the layout in 3D—complete with accurate lighting, furniture placement, and branding—lets you catch problems before they cost you.
Why 3D Rendering Works for Inclusive, Branded Events
So, what makes 3D rendering so effective, especially for community events? Let’s break it down:
1. Realistic Visualization
Unlike 2D floor plans, 3D renderings show you exactly how a space will look. You can see how your event branding fits into the room, whether the colors work, and how the lighting interacts with key elements. This level of detail allows you to:
- Preview sightlines for event stages or booths to ensure visibility.
- Experiment with decor placement, like banners or signage, to maximize impact.
- Identify whether the size and scale of furniture or props feel cohesive.
For example, you might discover that a backdrop you planned looks too small in the context of the room. Adjusting it digitally avoids costly last-minute replacements.
2. Accessibility Planning
Inclusivity isn’t optional. A 3D model lets you test wheelchair paths, accessible seating, and signage placement to ensure everyone feels welcome. Here’s how 3D rendering helps:
- Simulate attendee experiences: Walk through the virtual space from the perspective of someone using a wheelchair, a cane, or even a stroller.
- Test different layouts: Ensure pathways remain clear and wide enough, even when tables, chairs, or event attendees are factored in.
- Plan for sensory accessibility: Visualize how lighting and sound setups might impact people with sensory sensitivities.
3. Cost Control
Fixing mistakes during setup is expensive and stressful. With 3D rendering, you can identify and solve layout issues early. For instance:
- Need to tweak the stage placement? Done in seconds.
- Want to try a different configuration for your food stalls? Adjust and preview immediately.
This proactive approach avoids unnecessary rental costs or rushed purchases. According to a 2021 report from Eventbrite, most event planners spend 20% more than budgeted due to last-minute changes. 3D rendering can significantly reduce this risk.
4. Stakeholder Buy-In
Whether you’re pitching to sponsors or coordinating with volunteers, a 3D model makes it easier to communicate your vision. People are more likely to get onboard when they can see exactly what you’re planning. This is especially valuable when:
- Convincing sponsors of your event’s value and professionalism.
- Showing volunteers where they’ll be stationed.
- Gaining approvals from venues, who may need to confirm safety or logistical feasibility.
How CommunityTix Complements 3D Rendering
This all sounds great, but how do you actually implement 3D rendering in your process? That’s where CommunityTix comes in.
Let’s say you’re using a 3D rendering tool to design your event space. You’ve nailed the layout and ensured accessibility, but now you need to bring it to life. CommunityTix helps you bridge the gap between planning and execution:
-
Branded Event Pages: Create a professional online presence that matches your event’s theme. Your CommunityTix subdomain can showcase renderings, event details, and even a blog post about your planning process.
-
RSVP & Capacity Tracking: With a clear understanding of how many people your space can accommodate, you can use CommunityTix’s RSVP system to manage attendance and avoid overcrowding.
-
Flexible Pricing Options: CommunityTix’s Pay What You Can (PWYC) feature lets you set suggested ticket prices while allowing attendees to pay what they’re able. This is especially useful for inclusive events serving diverse communities.
-
Multilingual Support: If your event caters to non-English-speaking attendees, CommunityTix’s support for multilingual fonts ensures your signage, tickets, and digital materials reflect your audience’s diversity.
By combining 3D rendering with CommunityTix’s event management tools, you can go from a well-designed plan to a well-executed event. It’s a one-two punch that simplifies planning while ensuring your event feels cohesive and welcoming.
Common Mistakes (And How to Avoid Them)
Even with 3D rendering and tools like CommunityTix, there are pitfalls to watch for:
1. Overdesigning
Just because you can add an elaborate backdrop or complex lighting doesn’t mean you should. Focus on elements that enhance the attendee experience without overwhelming the space.
2. Ignoring Feedback
Use 3D renderings to gather input from your team, volunteers, and even past attendees. They’ll catch things you might miss.
3. Skipping Accessibility Checks
Don’t assume your space works for everyone just because it looks good in 3D. Test your design against real-world accessibility standards like ADA guidelines.
Comparison Table: 2D Plans vs. 3D Rendering
| Feature | 2D Plans | 3D Rendering |
|---|---|---|
| Visualization Quality | Limited | High |
| Accessibility Testing | Difficult | Easy |
| Stakeholder Buy-In | Moderate | High |
| Cost of Errors | High (post-setup fixes) | Low (prevention-focused) |
| Time Investment | Low | Moderate |
Final Thoughts
3D rendering can feel like a luxury, but in my experience, it’s a game-changer for inclusive, branded event planning. Pair it with a tool like CommunityTix, and you’ve got a streamlined process from vision to execution. Ready to simplify your next event? Get started with CommunityTix →